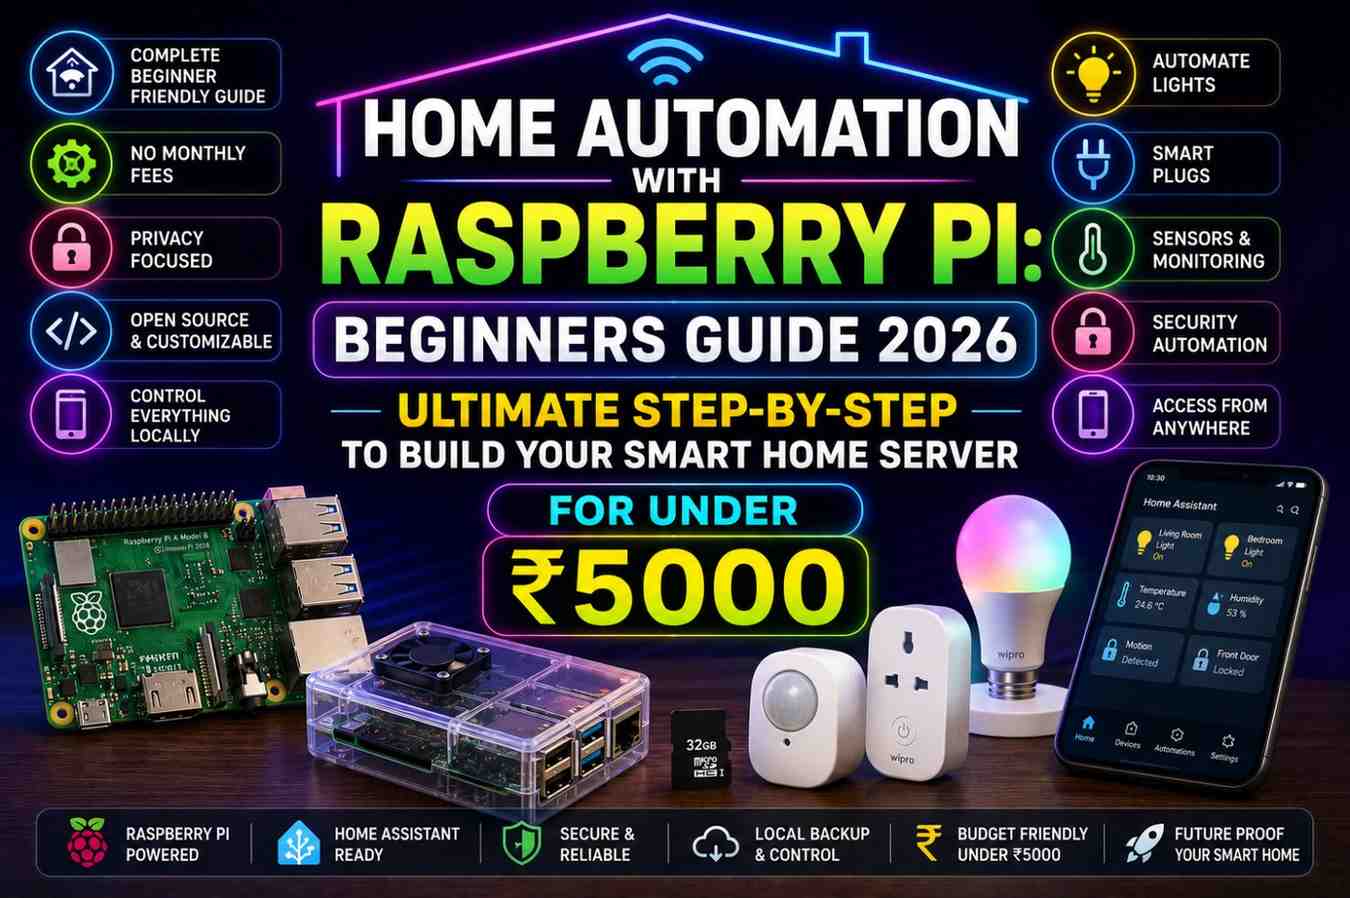
The most powerful, private, and flexible smart home system in the world runs on a computer the size of a credit card. Home Automation with Raspberry Pi: A Beginner’s Guide 2026 introduces you to the world of Home Assistant—the open-source smart home platform that gives you complete control over every device in your home, with no subscription fees, no cloud dependency, and no data shared with any corporation.
Home automation with Raspberry Pi: a beginner’s guide 2026 is not as intimidating as it might sound. In 2026, the installation process has been dramatically simplified. You can go from an unboxed Raspberry Pi to a fully functional Home Assistant smart home server in under 90 minutes — even with zero prior experience in Linux, networking, or programming.
This complete home automation with Raspberry Pi beginners guide 2026 walks you through every step: what hardware to buy in India, how to install Home Assistant, how to connect your devices, and how to set up your first five automations. Everything you need to know is right here.
Why Raspberry Pi for Home Automation in 2026?
Home Automation with Raspberry Pi: A Beginner’s Guide 2026 starts with a fundamental question: why choose a Raspberry Pi over a commercial hub like Amazon Echo or Google Nest?
Here are the compelling reasons:
1. Complete Privacy
Home Assistant on a Raspberry Pi runs entirely on your local network. No data is sent to Amazon, Google, or any third party. Your family’s behavior patterns, device usage, and home activity stay completely on your own hardware.
2. Unlimited Automation Power
Commercial hubs limit what you can automate and how complex your routines can be. Home automation with Raspberry Pi: a beginner’s guide 2026 opens up unlimited automation complexity—if/then/else logic, variables, templates, time-window conditions, multi-device state triggers, and custom scripts.
3. No Subscription Fees — Ever
Google Home and Alexa are free for basic features, but advanced AI features (Alexa+) cost $7.99/month. Home Assistant is 100% free forever — both the software and all core automation features.
4. Widest Device Compatibility
Home Assistant supports over 3,200 integrations in 2026 — more than any commercial platform. It supports not just Wi-Fi devices, but also Zigbee, Z-Wave, Bluetooth, Thread, Matter, MQTT, KNX, Modbus, and many industrial protocols.
5. Works Forever Without Internet
Once set up, home automation with the Raspberry Pi beginners’ guide 2026-style automation works 100% offline. Power cut or ISP outage? Your home still responds to switches, motion sensors, and schedules—because everything runs locally.
Home Assistant Official Getting Started Guide
What Is Home Assistant?
Home Automation with Raspberry Pi: A Beginner’s Guide 2026 centers on Home Assistant—the world’s most popular open-source smart home platform.
Home Assistant is:
- Free and open-source — No licensing fees
- Self-hosted — Runs on your Raspberry Pi at home
- Privacy-first — No cloud required
- Massive ecosystem — 3,200+ integrations in 2026
- Actively developed monthly updates with new features
- Supported by millions—the largest smart home community globally
Home Assistant runs as an operating system (HAOS — Home Assistant Operating System) on your Raspberry Pi, making it extremely easy to install and maintain.
Hardware You Need for Home Automation: A Raspberry Pi Beginners Guide 2026
Here’s everything required for a complete home automation with Raspberry Pi beginners’ guide 2026 setup, with Indian prices:
Essential Hardware
| Component | Recommended Model | Price (India 2026) |
|---|---|---|
| Single-board computer | Raspberry Pi 5 (4GB RAM) | ₹4,500–₹5,500 |
| OR budget alternative | Raspberry Pi 4 (4GB RAM) | ₹3,500–₹4,500 |
| MicroSD Card (fast) | SanDisk Extreme 32GB A2 | ₹600–₹900 |
| Power Supply | Official Raspberry Pi 27W USB-C PSU | ₹700–₹1,000 |
| Case | Official Raspberry Pi case with fan | ₹400–₹700 |
| Ethernet Cable | Cat6 1m patch cable | ₹100–₹200 |
| Total | ₹4,300–₹6,300 |
Note: You can often find Raspberry Pi 4 starter kits on Amazon India or Robu.in for ₹4,500–₹5,500, including the board, case, power supply, and SD card bundled together.
Where to Buy in India
- Amazon India — Best prices, Prime delivery available
- Robu.in—India’s dedicated electronics component site
- ThinkRobotics.in — Good Raspberry Pi stock
- Quartzcomponents.com — Reliable Indian component supplier
https://www.raspberrypi.com/software — Raspberry Pi Imager Official Download
Step-by-Step Installation Guide
Here is the complete installation process for home automation with the Raspberry Pi beginners’ guide 2026:
Step 1 — Download the Raspberry Pi Imager (5 minutes)
The Raspberry Pi Imager is a free tool that writes the Home Assistant OS directly onto your SD card.
- On your PC or laptop, go to raspberrypi.com/software
- Download and install the Raspberry Pi Imager for your operating system (Windows, Mac, or Linux)
- Insert your microSD card into your computer’s SD card slot (use a USB adapter if your laptop doesn’t have one—available for ₹150–₹300)
Step 2 — Flash Home Assistant OS (10 minutes)
This is the core installation step in the home automation with Raspberry Pi beginners guide 2026:
- Open Raspberry Pi Imager
- Click “Choose Device” → Select your Raspberry Pi model (Pi 4 or Pi 5)
- Click “Choose OS” → Scroll down to “Other specific-purpose OS” → “Home assistants and home automation” → “Home Assistant” → Select your Pi version
- Click “Choose Storage” → Select your microSD card
- Click “Next” → When asked about OS customisation, click “No” (Home Assistant configures itself)
- Click “Yes” to confirm writing—this takes 5–10 minutes
Step 3 — Boot Your Raspberry Pi (10 minutes)
- Remove the microSD card from your computer and insert it into the Raspberry Pi’s SD card slot
- Connect the Raspberry Pi to your router with an Ethernet cable
- Plug in the power supply
- The Raspberry Pi boots automatically—no monitor needed
Step 4 — First-Time Home Assistant Setup (15 minutes)
This is where the home automation with Raspberry Pi beginners guide 2026 truly comes to life:
- On any device on your home network (phone, laptop, tablet), open a browser
- Navigate to: http://homeassistant.local:8123
- If this doesn’t work, find your Pi’s IP address in your router’s admin panel (usually 192.168.1.X) and navigate to http://192.168.X.X:8123
- Home Assistant will show a loading screen while it prepares (first boot takes 5–10 minutes)
- Once ready, click “Create my smart home.”
- Create your admin account with name, username, and password
- Set your home’s location, unit system (metric), and time zone
- Home Assistant will automatically detect devices on your network and suggest integrations
Step 5 — Connect Your First Devices (20 minutes)
With your server running, the next step in the Home Automation with Raspberry Pi Beginners Guide 2026 is connecting your smart devices:
- In Home Assistant, go to Settings → Devices & Services → Add Integration
- Search for your device brand or protocol:
- TP-Link Tapo → Find TP-Link Tapo integration → Enter your Tapo account credentials
- Tuya/Smart Life → Find Tuya integration → Enter your Tuya developer API credentials
- Google Cast → Detects Chromecast and Google Home speakers automatically
- Philips Wiz → Auto-detected on local network
- Sonoff (via eWeLink) → eWeLink integration
- Your devices appear in Home Assistant as entities—each device’s individual controls (on/off, brightness, temperature, etc.)
Step 6 — Set Up Your First 5 Automations
Automations are the heart of the Home Automation with Raspberry Pi beginners guide 2026. Here are 5 beginner automations to create immediately:
Automation 1 — Lights Off When Leaving: Trigger: All household members’ devices leave home network. Action: Turn off all lights and fans
Automation 2 — Good Morning Lights: Trigger: Time (6:30 AM, weekdays) Action: Bedroom light turns on at 30% warm white
Automation 3—Motion Night Light: Trigger: Motion sensor activated between 10 PM and 6 AM Action: Corridor light turns on at 10% for 3 minutes
Automation 4 — Geyser Timer: Trigger: Time (5:45 AM) Action: Geyser smart plug turns on for 30 minutes, then off
Automation 5—Away AC Cutoff: Trigger: No motion detected in any room for 30 minutes AND time is between 9 AM and 6 PM Action: AC smart plug turns off, and a notification sent to the phone.
Creating automations: In Home Assistant → Settings → Automations & Scenes → Create Automation → Use the visual editor to select triggers and actions.
https://community.home-assistant.io — Home Assistant Community Forum
Adding a Zigbee Coordinator (Optional but Powerful)
One of the most powerful expansions for home automation with the Raspberry Pi beginners’ guide 2026 is adding a Zigbee USB coordinator. Zigbee devices are cheaper, more reliable, and use far less power than Wi-Fi devices.
Recommended Zigbee USB coordinator:
- SONOFF Zigbee 3.0 USB Dongle Plus — ₹1,500–₹2,200 on Amazon India
What Zigbee enables:
- Cheap sensors (door, motion, temperature, humidity) for ₹500–₹1,500 each
- Reliable mesh network that doesn’t depend on your Wi-Fi router
- Devices like Aqara, SONOFF, IKEA TRADFRI—all accessible locally
Setup: In Home Assistant, install the ZHA (Zigbee Home Automation) integration, select your USB dongle, and pair devices by pressing their reset button.
Essential Home Assistant Add-Ons for Beginners
Home automation with Raspberry Pi: a beginner’s guide 2026 becomes far more powerful with these free add-ons (install via Settings → Add-ons):
| Add-on | Purpose |
|---|---|
| Mosquitto Broker | MQTT message broker for smart home devices |
| Node-RED | Visual drag-and-drop automation builder |
| File Editor | Edit configuration files directly in the browser. |
| Studio Code Server | Full VS Code editor for advanced configuration |
| Zigbee2MQTT | Alternative Zigbee coordinator with more device support |
| Ollama | Local AI language model for voice and text automation creation |
Expanding Your Setup: What to Add Next
After completing the basic home automation with the Raspberry Pi beginners’ guide 2026 setup, consider these expansions:
Priority 1 — Remote Access: Set up the free Nabu Casa subscription (€6.50/month) or a free Cloudflared tunnel to access your Home Assistant from anywhere securely. This lets you check your home cameras, control devices, and monitor automations while you’re away.
Priority 2—Voice Assistant: Install the Wyoming Satellite add-on to turn a spare Raspberry Pi Zero 2W (₹1,800) + USB microphone into a local, fully private voice assistant. Say “Hey Jarvis” (customizable), and your home responds—with zero cloud, zero subscription.
Priority 3—Energy Monitoring: Add smart plugs with energy monitoring (TP-Link Tapo P115, ₹1,299 each) and connect them to Home Assistant’s Energy Dashboard—a beautiful real-time view of your home’s electricity consumption.
Priority 4 — Presence Detection: Use the Home Assistant Companion App on all family members’ phones for device tracker presence detection, enabling reliable person-specific automations.
FAQs: Home Automation With Raspberry Pi: A Beginner’s Guide 2026
Q1: Is the Home Automation with Raspberry Pi Beginners Guide 2026 suitable for someone with no coding experience? A: Yes. Home Assistant’s 2026 visual automation editor requires no coding. The installation process uses a graphical tool (Raspberry Pi Imager), and first-time setup is a guided wizard. Many users complete their entire home automation with the Raspberry Pi beginners’ guide 2026 setup without writing a single line of code.
Q2: What is the total cost for home automation with the Raspberry Pi beginners’ guide 2026 in India? A: The Raspberry Pi 5 starter kit costs approximately ₹5,000–₹6,500 in India. Home Assistant software is free. The first smart devices (smart plugs and bulbs) add another ₹2,000–₹4,000. Total first setup: ₹7,000–₹10,000 for a complete local smart home server with connected devices.
Q3: Will home automation with the Raspberry Pi beginners’ guide 2026 setups still work if the internet goes down? A: Yes—this is one of the biggest advantages of home automation with the Raspberry Pi beginners’ guide 2026. All automations, device controls, and sensor responses continue working on your local network even during complete internet outages.
Q4: Can I use Google Home or Alexa voice control alongside Home Assistant? A: Yes. Home Assistant integrates with both Google Home and Amazon Alexa. You can speak commands through your Echo or Nest speaker, which relays them to Home Assistant for local execution — combining the easy voice interface of commercial speakers with the power of Home Assistant.
Q5: What is the difference between the Raspberry Pi 4 and the Raspberry Pi 5 for home automation with the Raspberry Pi beginners guide 2026? A: The Raspberry Pi 5 is approximately 2.5 times faster than the Pi 4 and handles more simultaneous devices and automations without slowing down. For serious home automation with the Raspberry Pi beginners guide 2026 builds, the Pi 5 is recommended—but the Pi 4 works perfectly for most beginner setups.
Conclusion
Home Automation with Raspberry Pi: A Beginner’s Guide 2026 represents the most empowering path into smart home technology available today. For under ₹5,000–₹6,500, you build a smart home server that rivals—and in many ways surpasses—commercial systems costing ten times more.
The journey of home automation with the Raspberry Pi beginners’ guide 2026 starts with a single SD card flash and a 90-minute setup session. From there, it grows at your own pace—adding devices, building automations, expanding with Zigbee and local AI—until your home operates exactly the way you want it to, privately, reliably, and entirely on your own terms.
Order your Raspberry Pi today, follow the steps in this guide this weekend, and take full control of your smart home—permanently, privately, and for free!