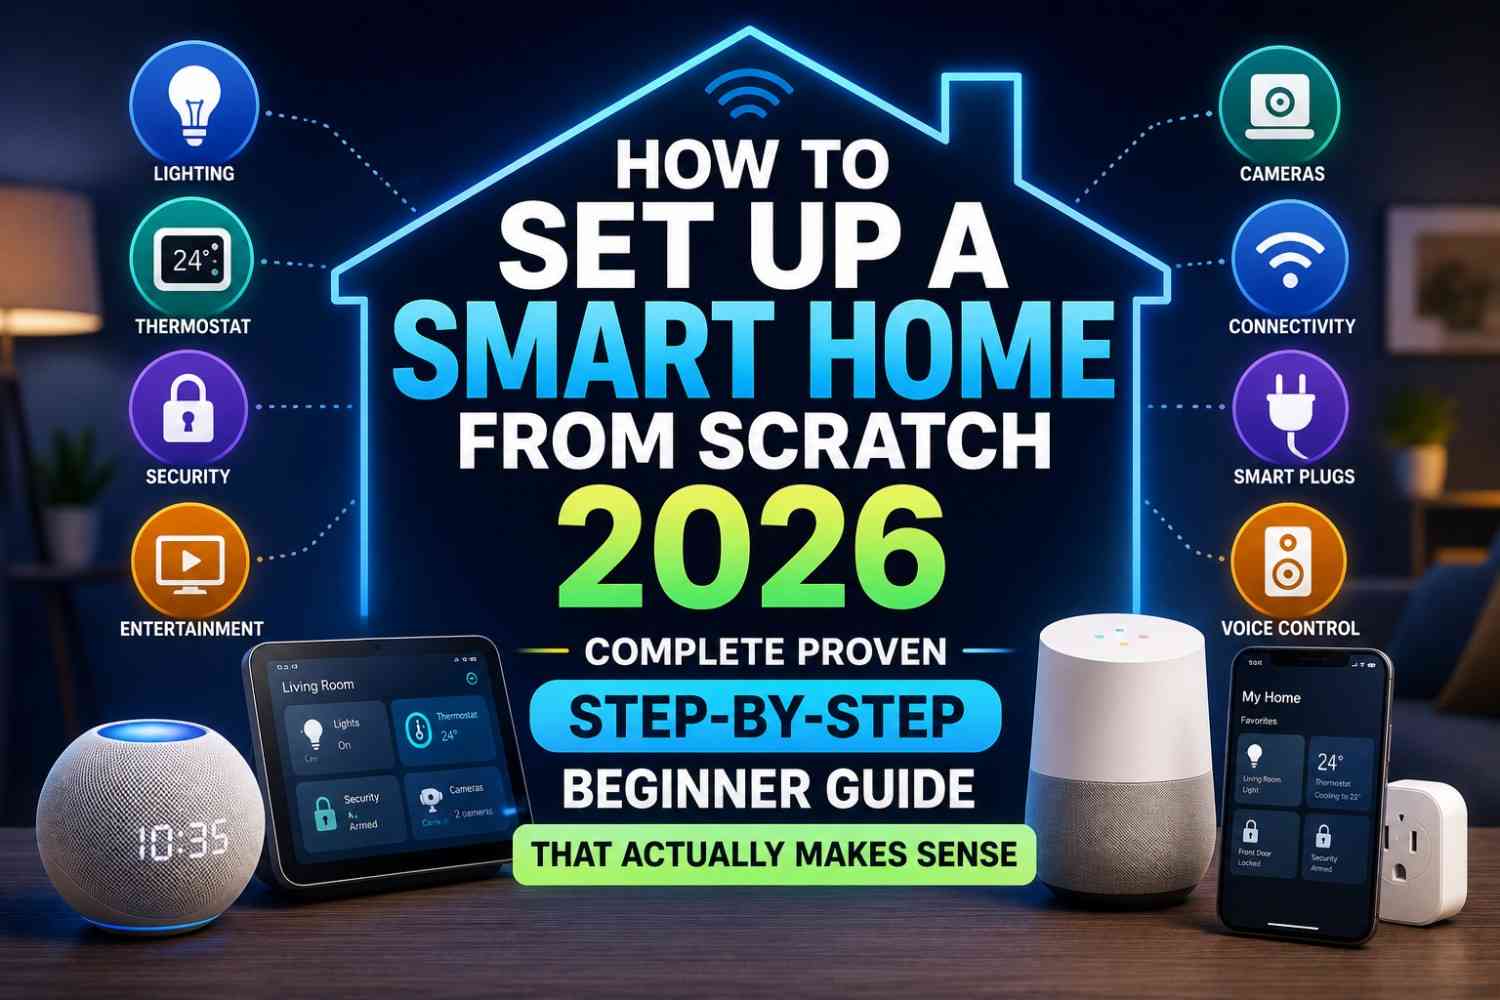
Most smart home guides tell you what to buy. Far fewer tell you how to actually set it up—the right way, in the right order, without the mistakes that lead to devices that do not talk to each other, automations that do not work, and a drawer full of half-used gadgets.
This guide is different. Learning how to set up a smart home from scratch in 2026 is not primarily about shopping—it is about thinking in the right sequence, making foundational decisions before spending money, and building a system that grows with you rather than constraining you.
Whether you are starting in a rented flat in Pune or a house in Jaipur, this step-by-step guide gives you a clear, honest roadmap to your first genuinely functional smart home.
Before You Buy Anything: The Three Questions That Save You Money
Most people who feel frustrated with their smart homes made the same mistake: they bought devices before answering the following three questions. Answer these first, and every purchase decision after becomes straightforward.
Question 1: Which ecosystem will I commit to? Your ecosystem is your smart home’s operating system. The three options are Amazon Alexa, Google Home, and Apple HomeKit. You need to pick one as your primary platform before buying a single device.
- Use Amazon Alexa if you want the widest device selection, the most powerful automations, and compatibility with both Android and iOS.
- Use Google Home if you are an Android/Gmail/YouTube user who wants the most seamless Google integration and excellent Hindi support.
- Use Apple HomeKit if you use an iPhone and prioritize privacy and on-device processing over device variety.
For most Indian users, Amazon Alexa or Google Home are the pragmatic choices given India-native device availability.
Question 2: What problems do I actually want to solve? Do not buy smart home devices because they exist. Buy them because they solve a real daily inconvenience. Common high-value problems in Indian homes:
- Forgetting to turn off the geyser → Smart plug with scheduling
- Getting up in the dark and risking a fall → Automated night lighting
- Wanting music/news without touching a phone → Smart speaker
- Checking who is at the door → Smart video doorbell
- Controlling the AC without leaving bed → IR blaster
Identify your top two or three problems first. Build your initial purchase list around those.
Question 3: What is my realistic budget for the first three months? You do not need to buy everything at once. A smart home built gradually over three months is less overwhelming and more functional than an all-at-once purchase. Set a first-month budget of ₹3,000–₹8,000 for a beginner.
With these three questions answered, you are ready to start.
Step 1: Check and Prepare Your Wi-Fi Network
Smart home devices run on your home Wi-Fi. A weak, unstable, or incorrectly configured Wi-Fi network is the single most common reason smart home setups fail.
What to check:
2.4GHz band availability: Most entry-level smart home devices (smart bulbs, plugs, sensors) require 2.4GHz Wi-Fi. Most modern dual-band routers broadcast both 2.4 GHz and 5 GHz. Confirm your router broadcasts on 2.4GHz and that this band is enabled. Log into your router’s admin panel (usually 192.168.1.1 or 192.168.0.1) and check wireless settings.
Wi-Fi signal in all rooms: Walk through your home with your phone and check signal strength in every room where you plan to install devices. If signal drops significantly in any room, consider a Wi-Fi extender or mesh router system before buying smart devices.
Router placement: Your router should be placed centrally in your home, elevated off the floor (not behind the TV on the floor). This single change often dramatically improves Wi-Fi coverage.
Password note: Write down your Wi-Fi name (SSID) and password — you will enter this repeatedly during device setup.
Recommended action before buying devices: Upgrade to a mesh Wi-Fi system if your home is larger than 1,000 sq ft or has thick concrete walls (common in Indian construction). TP-Link Deco or Google Nest WiFi offers good India availability and mesh performance.
Step 2: Set Up Your Ecosystem Hub First
Your ecosystem hub is the device that ties everything together. Set this up before any other smart device.
If you chose Amazon Alexa: Buy an Amazon Echo Dot (5th Gen, ₹3,499). Plug it in, download the Amazon Alexa app on your phone, and follow the in-app setup. Sign in with your Amazon India account. This takes approximately 10 minutes.
If you chose Google Home, buy a Google Nest Mini (₹4,999) or Google Nest Hub 2nd Gen (₹7,999). Download the Google Home app, sign in with your Google account, and follow the setup. The Nest Hub also gives you a screen for visual smart home control.
If you chose Apple HomeKit: Buy an Apple HomePod Mini (₹9,900). Set it up with the Home app on your iPhone. This serves as your Thread border router and HomeKit hub.
Once your hub is set up and responding to voice commands, you have a working smart home foundation. Everything else you add connects to this hub.
Step 3: Add Your First Smart Device — Lights or a Smart Plug
Start with the highest-impact, lowest-friction upgrade. For most Indian homes, this is either a smart bulb or a smart plug.
Smart Bulb Setup (Wipro as an example):
- Download the WiproCare app on your phone
- Create an account with your phone number
- Screw the bulb into any B22 or E27 socket and turn on the physical switch
- In the app, tap “Add Device” → select your bulb model
- Enter your Wi-Fi name and password when prompted
- Follow the bulb’s flashing pattern to confirm pairing
- Name your device (“Bedroom Light,” “Living Room Lamp”)
- Open the Alexa or Google Home app → Settings → “Works With” → Find WiproCare → Link accounts
Total setup time: approximately 8–12 minutes per bulb.
Smart Plug Setup (Amazon Smart Plug):
- Plug the Amazon Smart Plug into your wall socket
- Open the Alexa app → tap “+” → “Add Device” → “Amazon Smart Plug”
- Follow the in-app pairing instructions
- Name your plug (“Geyser,” “Living Room Lamp,” “Fan”)
- Plug your appliance into the smart plug
Total setup time: approximately 5 minutes.
Step 4: Test Voice Control
Before adding any more devices, confirm that voice control works correctly with what you have installed.
Say, “Alexa, turn on the bedroom light.” (or “Hey Google, turn on the bedroom light.”)
If it works, you have successfully completed the core smart home loop—device → ecosystem → voice control.
If it does not work: troubleshoot before adding more devices. Common issues:
- Device is not linked to the correct account in the hub app
- The device name in the app does not match what you are saying (rename it to something simpler)
- The hub and device are on different Wi-Fi bands (ensure both are on 2.4 GHz or both on 5 GHz for compatible devices)
Step 5: Create Your First Automation
An automation is what separates a “remote-controlled home” from a genuinely smart home. Instead of commanding every device manually, automations make your home respond to conditions automatically.
Starting automation example — Night Light:
Goal: Bedroom light turns on at 10% brightness at 11 PM and turns off at 6 AM.
In the Alexa app:
- Tap “More” → “Routines” → “+”
- Name it: “Night Light”
- Trigger: Schedule → Every day → 11:00 PM
- Action: Smart Home → [Your Bedroom Light] → Brightness → 10%
- Add another action: Smart Home → [Your Bedroom Light] → Colour → Warm White
- Save
Then create a second routine: trigger at 6:00 AM → turn off the bedroom light.
In Google Home:
- Open Google Home app → “Automations” → “+”
- Starter: Time → 11:00 PM
- Action: Adjust [Bedroom Light] → 10% brightness
- Save
Test it by temporarily setting the trigger time to two minutes from now. Confirm the light responds. Then reset to your intended schedule.
This first automation is the template for everything that follows. Once you understand this pattern, you can build automations for any condition — time, motion, sunrise/sunset, device state, or geolocation.
Step 6: Expand Strategically — The Right Order
With your hub, first device, and first automation working, you are ready to expand. Follow this recommended order for a balanced smart home build:
Month 1 (Foundation): ₹3,000–₹8,000
- Hub device (Echo Dot or Nest Mini)
- 2–3 smart bulbs for key rooms
- 1 smart plug for the geyser or most-used appliance
Month 2 (Security and Awareness): ₹4,000–₹8,000
- Indoor security camera for living room or entry
- Smart video doorbell
- Motion sensor for key area (hallway or entry)
Month 3 (Convenience): ₹3,000–₹6,000
- IR blaster for AC and TV control
- Smart LED strip for ambient lighting
- Additional smart bulbs for remaining rooms
Month 4+ (Advanced):
- Smart switches to replace wall switches
- Smart door lock
- Smart display (Echo Show or Nest Hub) for visual dashboard
- Additional automations for presence-based triggers
Step 7: Organise Your Smart Home in the App
As your device count grows, organization becomes important. Most smart home apps support “rooms” or “groups” — use them.
Create rooms in your Alexa or Google Home app:
- Living Room → living room light, TV plug, IR blaster
- Bedroom → bedroom light, bedside lamp, fan plug
- Kitchen → kitchen light, geyser plug
- Entrance → video doorbell, motion sensor, main light
With rooms configured, you can say: “Alexa, turn off all the bedroom lights” or “Hey Google, good night” (triggering a routine that turns off all lights in all rooms).
Step 8: Set Up Away Mode and Security Automations
Once your basics are working, add security automations.
Away Mode (Alexa Routine example): Trigger: When I leave home (using your phone’s geolocation) Actions:
- Turn off all lights
- Arm smart camera motion detection
- Lock smart door lock (if installed)
- Send notification: “Away mode activated”
Intruder Deterrence: Trigger: Motion sensor activates between midnight and 5 AM. Action: Turn on hallway light at 100% brightness → send phone notification
These automations make your home secure without requiring you to remember to do anything before leaving.
Common Mistakes to Avoid When Setting Up a Smart Home
Mixing ecosystems without planning: Buying a Wipro bulb (Alexa/Google), a Philips Hue bulb (needs a separate hub), and a generic Chinese bulb (proprietary app only) creates management chaos. Stick to one ecosystem and compatible brands.
Skipping device naming: Naming your devices precisely matters enormously for voice control. “Bedroom Ceiling Light” is better than “Light 1.” “Geyser Plug” is better than “Smart Plug 3.”
Forgetting firmware updates: Smart home devices receive security and stability firmware updates through their apps. Enable automatic updates or check monthly.
Over-automating too early: Start simple. One automation that reliably works is worth more than ten complex automations that occasionally fail.
Not testing before moving on: Confirm each device and automation works before adding the next. Troubleshooting one device is manageable; debugging five simultaneously is frustrating.
Suggested Image Placements
Image 1: Place after the introduction.
- Description: A step-by-step visual flowchart showing the smart home setup sequence: Choose ecosystem → Set up hub → Add first device → Test voice → Create automation → Expand.
- ALT text: “How to set up a smart home from scratch 2026 — step-by-step beginner setup flowchart”
Image 2: Place after Step 3 (adding first smart device).
- Description: A smartphone screen showing the Alexa app “Add Device” flow with a Wipro smart bulb being paired, with the physical bulb visible in the background.
- ALT text: “How to set up a smart home from scratch 2026 — Alexa app smart bulb pairing screen”
Authority Outbound Links
- Amazon Alexa App Setup Guide — https://www.amazon.in/gp/help/customer/display.html?nodeId=GX9NFWUDSPFHAJAL — Official Amazon India Alexa app setup documentation.
- Google Home Setup Guide — https://support.google.com/googlenest/answer/9236970 — Official Google’s step-by-step guide for setting up Google Home.
- Apple HomeKit Setup — https://support.apple.com/guide/iphone/set-up-your-home-iph0ebf6a4d9/ios — Apple’s official HomeKit beginner guide for iPhone users.
- TP-Link Deco Mesh Wi-Fi India—https://www.tp-https://www.tp-link.com/in/home-networking/deco//in/home-networking/deco/—India-available mesh Wi-Fi systems for reliable smart home networks.
- Wirecutter Smart Home Beginner Guide — https://www.nytimes.com/wirecutter/guides/how-to-start-a-smart-home/ — Independent editorial guide to smart home setup for beginners.
FAQs: How to Set Up a Smart Home from Scratch 2026
Q1. How long does it take to set up a basic smart home? A beginner smart home hub, two smart bulbs, and one smart plug with an automation take approximately 45–60 minutes to set up. Each additional device adds roughly 10–15 minutes. The initial ecosystem account setup (Alexa or Google Home) takes 10 minutes once.
Q2. Do I need a professional electrician to install smart home devices? Not for the devices on most beginner lists. Smart bulbs (screw in), smart plugs (plug in), and smart speakers (plug in) require no electrical work. Smart wall switches do require basic electrical work and benefit from a licensed electrician, even though the installation itself is straightforward.
Q3. What internet speed do I need for smart home devices? Smart home devices use very little bandwidth individually — a smart bulb uses less than 1Mbps. However, cameras require more bandwidth (2–4 Mbps per camera for 1080p streaming). A standard 50Mbps Jio or Airtel fiber connection handles 10+ smart home devices comfortably.
Q4. Can I set up a smart home in a rented flat in India? Yes. Most smart home devices designed for renters—smart bulbs, smart plugs, smart speakers, cameras, and motion sensors—require no permanent installation and leave no marks on walls. Smart switches and door locks are less suitable for rentals, as they require installation and removal.
Q5. What is the minimum budget to set up a functional smart home in India in 2026? A functional basic smart home — Echo Dot + two Wipro smart bulbs + one Amazon smart plug — costs approximately ₹6,300–₹6,500. This gives you voice control, remote appliance switching, and smart lighting. A more complete setup covering lighting, security, and automation costs ₹12,000–₹20,000 and is built over two to three months.
Conclusion
Learning how to set up a smart home from scratch in 2026 is less about technical knowledge and more about making the right decisions in the right sequence. Choose your ecosystem first. Prepare your Wi-Fi. Set up your hub. Add one device at a time. Test before expanding. Build your first automation within the first week.
Every smart home starts with a single device and a single automation that actually works. That first success — speaking to a device and having your home respond — is genuinely exciting. And it builds from there, one practical upgrade at a time.
Start today. Buy one Echo Dot or Nest Mini and one smart bulb and follow the steps above. Your smart home journey starts this week — not someday.